PREVIOUS: Note1 - ARDUINO
Hand-on #1 : Blink
-Arduino를 경험해 본다.
-Sketch IDE를 설치, 간단한 Blink Example 따라하기
Preparation Materials
- Arudino platform : Arduino Mega
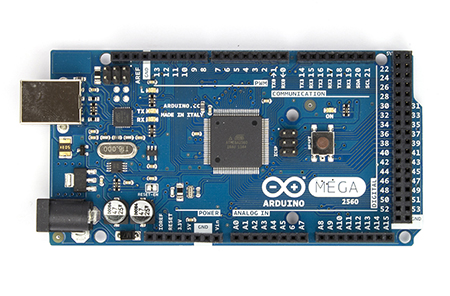
(from http://Arduino.cc)

(* form http://duino4projects.com/multiserial-mega-using-arduino/)
| Spec. | Description |
|---|---|
| Microcontroller | ATmega2560 |
| Operating Voltage | 5V |
| Input Voltage (recommended) | 7-12V |
| Input Voltage (limits) | 6-20V |
| Digital I/O Pins | 54 (of which 15 provide PWM output) |
| Analog Input Pins | 16 |
| DC Current per I/O Pin | 40 mA |
| DC Current for 3.3V Pin | 50 mA |
| Flash Memory | 256 KB of which 8 KB used by bootloader |
| SRAM | 8 KB |
| EEPROM | 4 KB |
| Clock Speed | 16 MHz |
- Schemetic : arduino-mega2560_R3-schematic.pdf
Sketch IDE : IDE 1.5.x
- 아래의 Arduino IDE Download 링크에서 자신의 OS에 맞게 (Windows/MAC/Linux) Install file를 다운로드 받아 설치
- Link: Arduino IDE Download
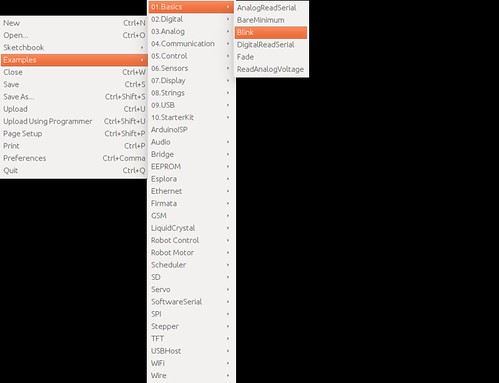
Blink Sketch :
- Load Blink Sketch : IDE의 파일>예제>Basics>Blink
Blink codes
[code lang=cpp]
// the setup function runs once when you press reset or power the board
void setup() {
// initialize digital pin 13 as an output.
pinMode(13, OUTPUT);
}
// the loop function runs over and over again forever
void loop() {
digitalWrite(13, HIGH); // turn the LED on (HIGH is the voltage level)
delay(1000); // wait for a second
digitalWrite(13, LOW); // turn the LED off by making the voltage LOW
delay(1000); // wait for a second
}
[/code]
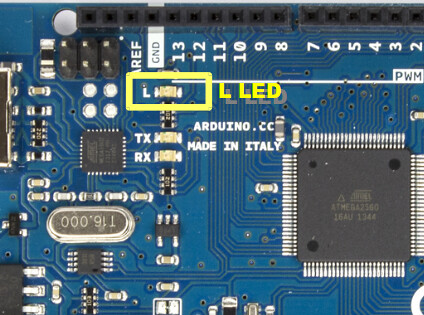
Pin 13 회로도에서 살펴보자
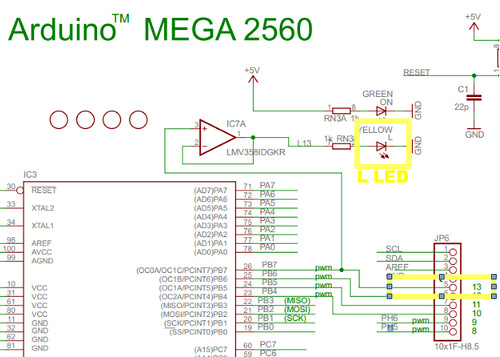
Pin 13으로 L LED를 On/Off 한다.!
Configuration Platform
- IDE 메뉴의 도구>보드>Arduino Mega of Arduino Mega 2560

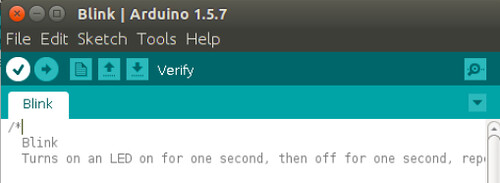
Compile
- IDE 메뉴의 스케치>확인/컴파일
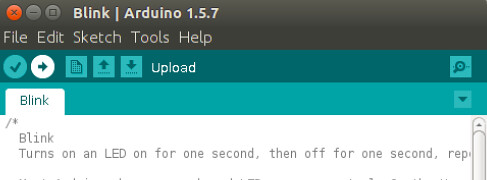
Program
- IDE 메뉴의 파일>프로그램어를통해업로드
NEXT: Note3 - Hello world
[…] NEXT->Blink sketch] […]
답글삭제[…] PREVIOUS: Note2 – Blink sketch […]
답글삭제[…] Note2 – Blink sketch - Arduino Mega 보드에 있는 LED 끄고 켜보고 감잡기 […]
답글삭제